
Procreate Basics [1] iPad Tattoo Design
This first lesson focuses on leveraging Procreate for digital tattoo design. It's designed for both beginners in digital art and those seeking to enhance their tattoo design process. Russ shares his transition from traditional to digital design, emphasizing the transformative impact Procreate has had on his workflow. The video covers the reasons why Procreate is a favored tool among tattoo artists, the advantages of digital design, and offers practical advice for getting started. This includes selecting the appropriate iPad model and accessories. Key highlights include tutorials on Procreate's use, managing layers effectively, and expert tips from Russ to improve tattoo designs.
Procreate Basics [2] Getting Started
Part 2 focuses on starting your digital art journey in Procreate. This episode covers the essentials from downloading Procreate to setting up a custom canvas size that suits tattoo artwork. Russ emphasizes the importance of choosing the correct resolution for your art, explains layer management in detail, and provides a comprehensive overview of the color picker and brush library. He shares his favorite brushes and customization tips for achieving smoother and cleaner lines. Key aspects of the episode include adjusting background colors, experimenting with brush sizes, and effectively using the eraser tool. The episode is packed with crucial tips to enhance your digital art capabilities and mentions free resources and tools available for viewers to enrich their Procreate toolkit.
The structured breakdown of the video includes:
- Downloading Procreate and navigating the gallery view.
- Steps for creating a canvas and choosing the right resolution.
- Understanding the relationship between resolution and layers, and how to adjust various settings including timelapse.
- Introduction to canvas properties, layer management, and using color pickers and palettes.
- Demonstrations on using brushes, erasing, sketching, resizing, rotating, and using the warp tool.
- Tips on naming layers, creating line drawings, brush stabilization, and avoiding common mistakes like not creating a new layer for linework.
- Instructions on how to print a stencil using the Tattoo Print System for stencil printing.
This episode serves as a comprehensive guide for artists at any level looking to refine their skills in digital tattoo design using Procreate.
Procreate Basics [3] How to Shade
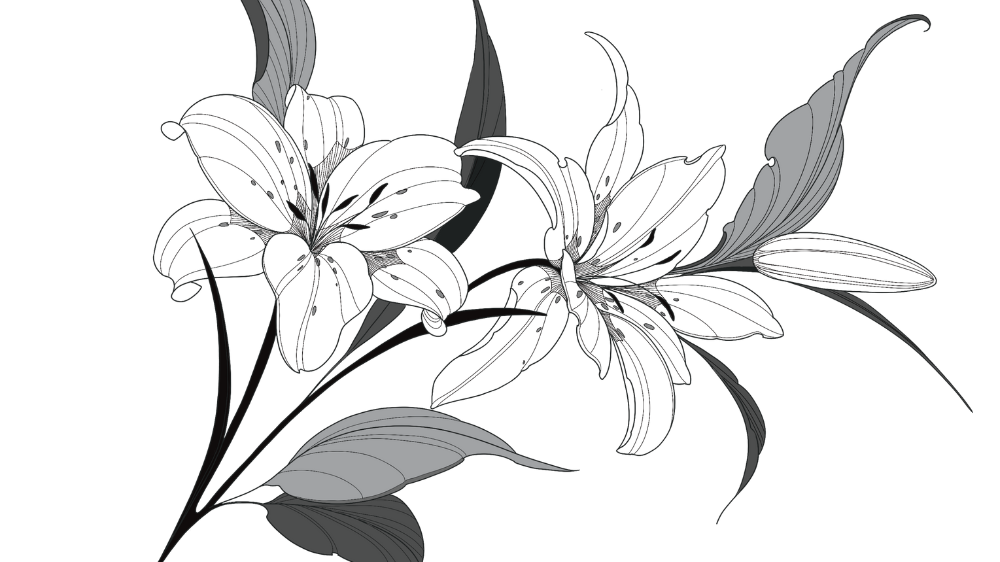
The third lesson focuses on advancing digital tattoo art skills by creating value studies in Procreate—a crucial practice for tattoo artists. This episode not only provides insights into the technique but also offers FREE brush kits and color palettes used by Russ himself. Russ demonstrates how to turn line drawings into detailed value studies, a process that helps plan out tattoo designs with precision before the actual inking. He walks through the addition of shades of gray to artworks, making them more dynamic and well-defined. Viewers discover Russ's preferred brushes for outlining and shading and learn how these tools can significantly improve the design process.
Key highlights from the episode include:
- Announcement of a FREE giveaway.
- Importance of conducting a value study for tattoo designs.
- Step-by-step guide on adding values to line drawings using the RA Brush Set.
- Introduction to what's included in the RA Brush Set and how to use it for outlining and starting a value study.
- Application of free color palettes, including applying a skin tone and adding a values layer.
- Techniques for efficiently coloring inside the lines, using a reference layer, adjusting threshold settings, and applying different shades of gray.
- Visualization of grays on skin tone using the Multiply blending mode, and adding shading and highlights for depth.
- Usage of the free Magic Spitshader for final touches on black shading.
Procreate Basics [4] How to Color
Episode 4 focuses on coloring tattoo designs in Procreate. Russ demonstrates a fast and efficient method for bringing value studies to life with colors, emphasizing the use of overlay layers to preserve the integrity of the value studies. Russ provides guidance on selecting appropriate hues, applying colors that enhance the designs, and making adjustments easily. This installment is beneficial for artists interested in exploring different color schemes or completing designs for clients, offering crucial techniques to improve the digital art workflow. It also includes tips on layer management for a smooth coloring process.
Key points from the episode include:
- An introduction and promotion of free color palettes and brush sets.
- A recap of value studies and an explanation of Procreate's layering system.
- Techniques for adding highlights to value studies and utilizing Clipping Masks for precise coloring.
- Instructions on merging layers, adding new color layers with Overlay for depth, and accessing the free Eternal Ink Palette for a wide range of colors.
- Steps for adding secondary color layers, turning on background colors, and altering colors using Hue, Saturation, and Brightness adjustments.
- How to refine value studies with Curves for a polished tattoo design.
Procreate [5] Working Faster
This lesson focuses on advanced tips and tricks to enhance workflow efficiency in Procreate, especially for tattoo artists. This episode introduces game-changing gestures, selection tools, and transformation techniques, along with FREE resources like brush sets and color palettes.
Key insights include:
- Gestures for Efficiency: Russ highlights essential gestures such as the two-finger tap to undo actions and the three-finger swipe for quick access to cut and paste tools. These gestures streamline the design process, making it faster and more intuitive.
- Selection and Transformation Tools: The tutorial covers how to use the selection and transformation menus effectively to adjust your tattoo designs with precision. This includes utilizing automatic selection to target areas within reference lines, freehand selections for custom shapes, and rectangle and ellipse selections for specific areas.
- Advanced Transformation Techniques: Russ demonstrates how to use free form, uniform, distort, and warp transformations to modify your designs. He also covers flipping, rotating, and the importance of using Bicubic transformation for maintaining image quality.
- QuickShape Tool: A feature that allows for the easy creation of geometric shapes, perfect for adding precise elements to tattoo designs.
Procreate Basics [6] Using Reference
Episode 6 is tailored for tattoo artists aiming to enhance their design process using reference images. Russ provides a comprehensive guide on efficiently utilizing references, covering everything from images provided by clients to those found via Google searches and more. He introduces valuable tips and tricks such as split-screen viewing for easy comparison, the use of layer masks for AI-powered background removal, and how to create custom color palettes directly from images.
Key points from the episode include:
- Integration of High-Resolution Images: Techniques for seamlessly incorporating high-quality images into your designs, optimizing layer management for simpler edits.
- Advanced Reference Features: Navigation through Procreate’s reference features to improve your design workflow.
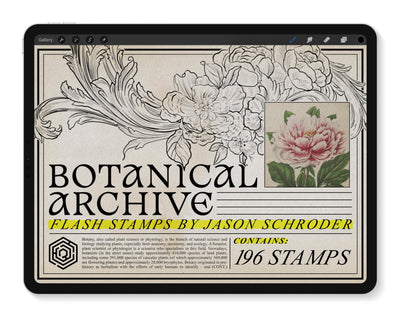
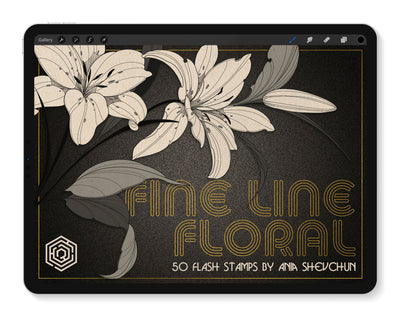
- Flash Stamps: Insights into combining traditional tattoo design elements with digital techniques, including the use of Tattoo Smart’s flash stamp references.
- Bonus Pack: An exclusive offer for viewers, providing free brushes and color palettes to inspire creativity.
Key tutorials include:
- Viewing two screens in Procreate for side-by-side comparisons.
- Saving and utilizing references from the internet.
- Using a layer mask to remove backgrounds efficiently.
- Creating color palettes from any reference image.
- Navigating the reference window for easy access to images.
- Organizing your brush library for better workflow management.
Procreate Basics [7] Tattoo Mock-ups
Lesson 7 focuses on crafting detailed tattoo mockups for presenting designs to clients and attracting new ones. Russ guides viewers through using client photos, Protoplast and Body Shots sets for generic body shapes, and Model Humans for 3D mockups, to create realistic representations of how tattoos will look on the body.
Key takeaways include:
- Integrating Client Photos: Learn to incorporate photos of clients' body parts into Procreate for personalized mockups.
- Using Protoplast and Body Shots: These tools provide generic body shapes that help in creating accurate mockups when client photos are not available.
- Model Humans for 3D Mockups: Discover how to apply designs to 3D models within Procreate, offering an advanced level of realism.
- Exporting Mockups: Russ shares techniques for exporting these mockups effectively for use on social media, aiding in marketing and client acquisition.
Russ also reminds viewers of the exclusive freebies available, including brush sets and color palettes, aimed at enhancing creativity. The episode includes practical demonstrations of how to apply designs, adjust opacity and placement, use warp for precise positioning, and the Multiply layer blending mode for integrating designs seamlessly into the mockup.
Procreate Basics [8] Making Stencils
Episode 8 is a comprehensive guide on finalizing tattoo designs for stencil creation. This episode focuses on outlining techniques suited for a variety of tattoo projects, from large-scale pieces like sleeves and back pieces to smaller designs.
Key learnings from the episode include:
- Contact Film for Body Maps: Demonstrates how to use contact film to create accurate body maps, which are then moved into Procreate for further design.
- Consistent Line Weights: Techniques for achieving consistent line weights across your design, utilizing streamline settings for smoother lines, and special brushes for unique effects.
- Adjusting Designs: Tips on adjusting sketches using opacity and warp to ensure the perfect fit on the body.
- Line Weight Selection: Guidance on selecting the ideal line weight for stencil clarity and how to adjust stabilization and streamline settings for liner brushes.
-Creating and Cleaning Up Lines: Instructions on creating a line drawing, using thinner lines for interior details, and cleaning up with an eraser for crisp outlines.
- Advanced Techniques: Incorporation of sketch layers, noise brushes, and halftone brushes for adding depth and texture to the design.
- Preparation for Printing: Final steps include scaling the design for the client's body, using the Tattoo Print System by Geometrica for precise scaling, and preparing the design for printing.
As a bonus, the episode provides free brush kits and color palettes to assist in bringing designs to life. This installment is aimed at tattoo artists looking to streamline their stencil-making process, improve workflow, and enhance overall artistry with Procreate's digital tools.

We hope you enjoy watching and learning the ins-and-outs of Procreate through this FREE tutorial series. As always, if you have any questions feel free to contact us at support@tattoosmart.com.