
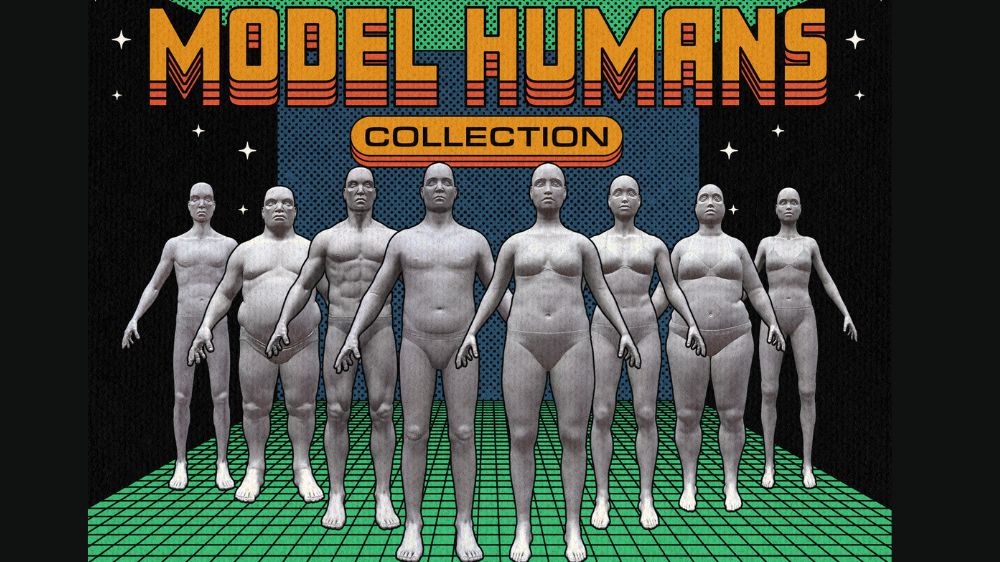
So you've purchased Model Humans and you don't know what to do? You can download your files into Procreate, but then what?
Never fear! Tattoo Smart has your back with these quick tutorial videos to help ease you into designing in 3D.
#1 - Always Duplicate Your Model Before You Begin
Before you design, make a copy of your blank model to work on a fresh copy every time. To duplicate, swipe left on your model and select 'Duplicate.'
#2 - Adding a Skin Tone
Be sure to install your skin tone library that is included with Tattoo Smart's Model Humans. Once you've imported the file into Procreate, you can find the skin tone library under the Pallets tab. Select the desired skin tone and drag the color puck onto the model.
#3 - Drawing in 2D and 3D
Create a new layer for your drawing. You are able to draw directly on the 3D Model or you can refine your design in the 2D texture mode. To access the 2D version of your artwork, click the wrench icon, followed by the 3D menu, and toggle on 'Show 2D Texture'.
#4 - View Your Design in 2D and 3D
Click the Actions wrench icon and select Canvas. Toggle on the Reference view. Adjust your views so you can see both 3D and 2D versions.
#5 - Liquify Your Design to Fit the Body
Make your design fit perfectly on the body using the Liquify tool.
#6 - Brush Scale on 3D Models
When working with 3d models, the scale of the brush size is affected by how closely you were zoomed into the model. It's all relative! Adjust the size settings or zoom as needed.
#7 - Advanced Tools - Transform
Adjust your design with the Transform tool. Select the arrow icon to access the automatic adjustments, use pinch gestures to adjust automatically. Tap Advanced and test out the fine tune controls.
#8 - Export a 3D Animation
Procreate gives you multiple ways to share your Model Humans designs. Play around with the export options, including duration, zoom, show environment, and transparent background.
#9 - View Your Design in AR
Procreate allows you to view your Model Humans using augmented reality. First, click the Actions wrench icon, select the 3D tab, and click 'View in AR'. Then share the experience with your clients with the 'Share' box/arrow icon.

