


Ready to create the most authentic watercolor tattoo designs and spitshade flash using The Spitshade Set?
WATCH: Learn how your new Spitshade toolkit works in this tutorial from Danny Derrick, including how the watercolor canvases, lining, inking, and shading brushes work.
READ: DETAILED TUTORIAL FOR THE SPITSHADE SET
Watercolor Paper File Guide
While the brushes included in The Spitshade Set are fully functional for use on a blank Procreate canvas, the full experience is only possible by combining the brushes with our precisely crafted paper files.
-
First download and install the paper files from Tattoo Smart. Look for the papers to install in the Procreate Gallery area.
-
Next, we recommend organizing your paper files in a "Stack" within your Procreate gallery area. Here's a quick video to help you out with Stacks.
Now that you've got a Stack organized with all of your Spitshade Set papers, rename your Stack to something like "The SpitShade Set".
When you're ready to test out a paper file, swipe left and click "Duplicate". This will make a copy of your paper so you don't ruin the original. Click and drag the new file to move the copy out of the Stack and keep your clean paper files intact.
Once you open the chosen paper file, you may toggle the visibility of any layers that you don't want. The paper layer on the bottom contains the image of the real watercolor paper that we hand stained with tea or coffee in the traditional way. Above that, you will see layers that are labeled with "Sketch Here, Color Here, Lines Here, and White Here". With the exception of the "White Here" layer, we recommend setting all layers of your actual artwork to the "Darken" layer mode. They have already been set that way. You can change the layer mode and experiment with other layer modes by tapping the "DA" or "N" on the layer. We think that "Darken" is the best layer mode for working with colors on the stained papers, but you may also like "Multiply" or "Normal" for a more opaque, acrylic or gauche look. If you want to add white, we left you a layer for that too, the opacity is turned down a bit on the "White Here" layer for a more realistic effect.
The very top of the layers stack is where the final magic lives. These two "Textures" layers are locked, but if you're open to experimentation, you can unlock them and explore what variations in layer mode and opacity will do to your painting. Notice how the shadows and lighting hit the bumps on the watercolor paper.
Note: The "Textures" layers are essential to simulating a real painting using your iPad, but if you want to print out your artwork on real watercolor paper, you will probably want to toggle off the visibility of the "Textures" layers prior to printing.
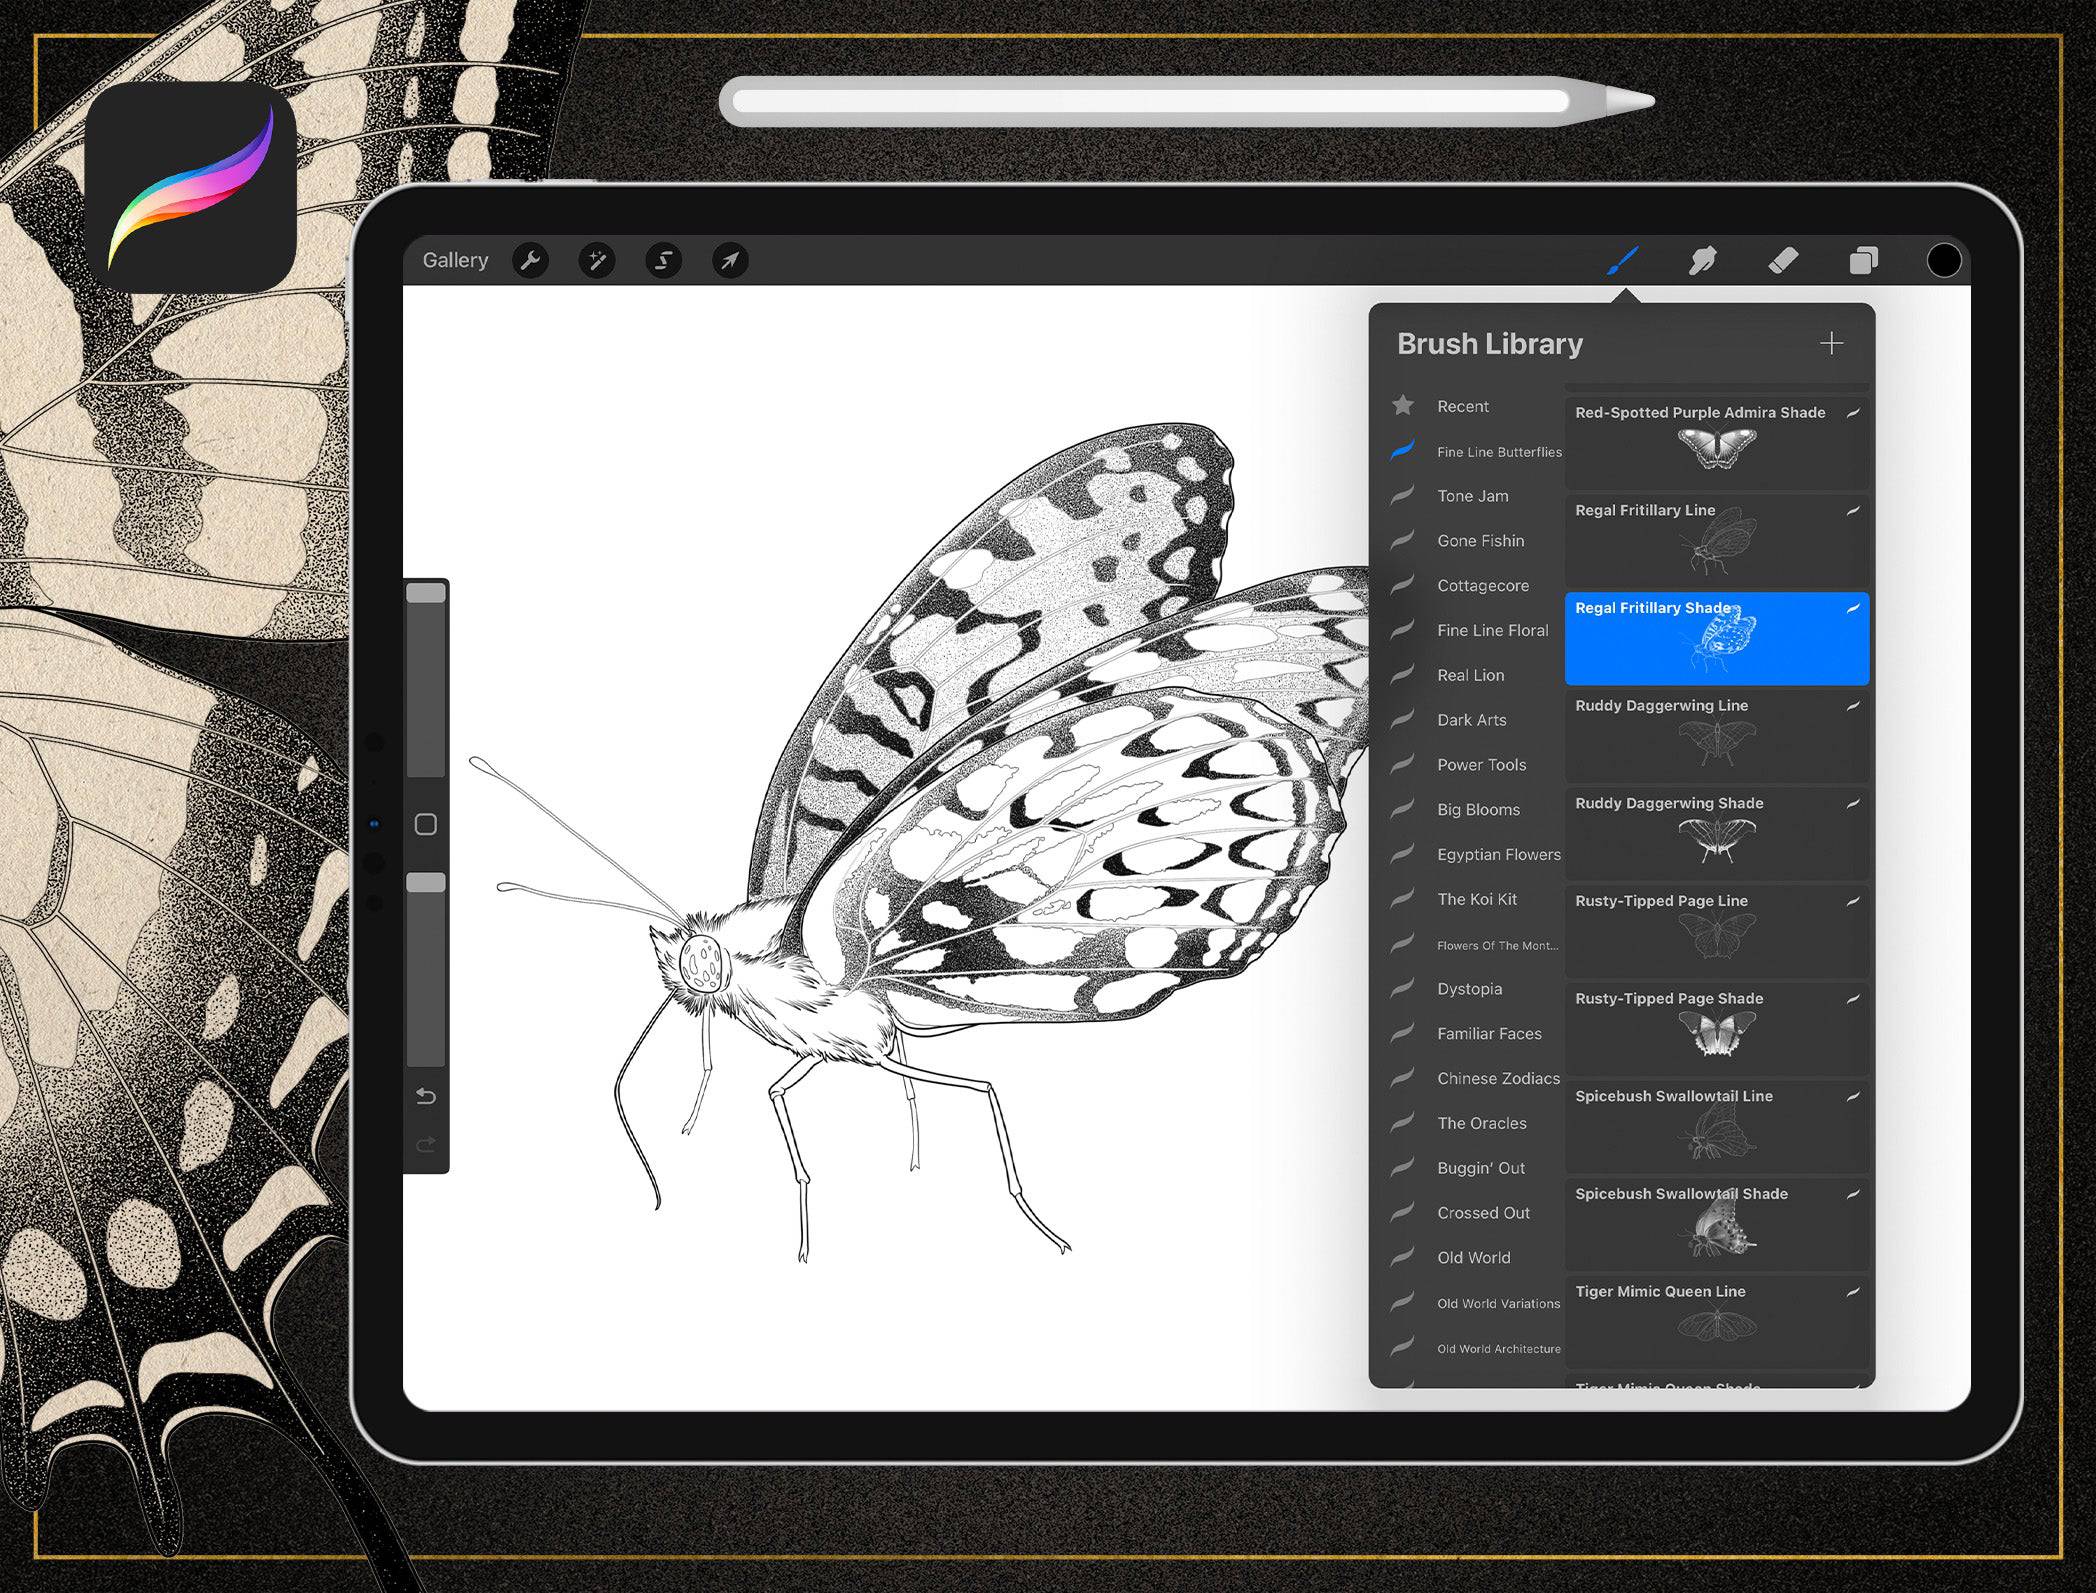
BRUSH GUIDE
After installing The_Spitshade_Set.brushset into Procreate, Tap the brush icon and explore the included brushes, beginning with the sketching and lining brushes first, then the paint application brushes, ink wash brushes, Russ Abbott's favorite "Magic Spitshader" and finally, the blending brushes.
Note: for best results, always set your blending brushes to the "Smudge tool" located in the top corner of the Procreate interface.
Sketching/ Outlining
The Spitshade Set collection of sketching and lining brushes feature the texture and edge quality inspired by our favorite dip pens and markers. Experiment with the brush size and opacity sliders on the edge of the Procreate interface for a wide range of effects. To guarantee a consistent liner size, we've included five "locked" pens for small to XXL line weights that can't be changed accidentally.
Painting/ Applying
We've included many options to apply the paint to the paper. Be sure to experiment with opacity, pressure, and the angle of your Apple Pencil to fully realize the potential for expressive mark making in these brushes. Try "Use This To Paint" for an all purpose brush. Also try "Streaky Blinder" for visible brush strokes. Once you lay down the paint, switch to a blending brush set to "smudge" and blend out the paint to your taste.
Ink Wash
When you need a consistent, transparent field of black or color, try the ink wash brushes. The opacity is "locked" on these five brushes. Tip: as long as you don't lift your Apple Pencil from the screen, you can fill an entire area with a wash ranging from X-Light to Dark. Once you lift the pencil, a second pass will add an additional layer so be mindful of your technique.
Magic Spitshader
A happy discovery during the creation of The Spitshade Set, this brush provides a single, versatile tool for applying AND blending black and colors with that authentic "spitshade" edge quality. For a subtle, smoother variation, try "Spittin Image".
Blending
The included blending brushes are an essential component of the authentic digital "Spitshading" experience. To use the blenders, choose the "smudge tool" (looks like a hand) in the top corner of the Procreate interface, then select from one of the blender options, we recommend starting with "Running Blend". Start blending out from color that was previously applied using one of the painting brushes. Experiment with brush size, opacity, pressure, and Apple Pencil angle. Tip: Blending "into" paint from an adjacent blank area will act as an eraser.
SHARE YOUR WORK
We are excited to see what you make using The Spitshade Set. Please use the #madewithtattoosmart when you post your work on Instagram. We regularly check the tag looking for exciting work to promote on our IG page @tattoosmart.

